Product Information
Acrylic first surface mirrors (front surface mirrors) are ideal for non-optical applications such as signage and hobby projects. Because the mirror coating is on the face of the acrylic, the mirrors don’t have a double image, also known as “ghosting.” The aluminum coating maximizes the amount of light reflected and minimizes distortion.
Features
- 94% reflective
- 1/4″ Thickness
- 1/8″ Thickness Available for Quantity Orders
- Protective laminate over mirror coating
- Manufactured in the USA
- Quantity discounts available
- Same day shipping
- International shipping
- Strong and lightweight
- Easy to cut
- Shatterproof
Applications
- Signage
- Lighting effects
- Product displays, kiosks
- Special effects
- Optometrist offices
- Children’s toys
- Kaleidoscopes
Product Photo

Shipping
We ship worldwide. Acrylic is quite durable so there is no risk in shipping it in a regular box via FedEx. We make sure all of our shipments are fully insured in case of shipping damage.
Product Gallery


Order Acrylic First Surface Mirror Sample
| Acrylic First Surface Mirror – 1/4″ Thickness | $9.95Add to cart |
Wavechart


Acrylic first surface mirrors have a removable, protective laminate and are easy to cut with a standard table saw. Additional protection can be added to the laminate with shipping tape.

This medical imaging device has a small acrylic first surface mirror in the center which allows patients to position themselves while being scanned.

Removing contact lenses is much easier with a first surface mirror. This mirror has been bent at the bottom to create a base. Using acrylic instead of glass is a lot safer in a store installation.
Frequently Asked Questions
How does the quality of the acrylic compare to glass?
The acrylic isn’t intended for optical applications, but works great for applications where you don’t need an accurate reflection such as signage or lighting effects. If you’re intending to use the acrylic for an optical application, we recommend that you order a product sample so you can evaluate it first.


Acrylic First Surface Mirror Thicknesses
The acrylic first surface mirror comes in two thicknesses: 1/8″ (3mm) and 1/4″ (6mm). To avoid bendiness, the maximum size recommended for the 3mm is 12″ x 24″, and for the 6mm thickness we would recommend keeping it to 24″ x 48″ or smaller.
The ideal tool to cut acrylic first surface mirrors is a table saw with fine toothed blade. You may want to reinforce the protective laminate with strapping tape before running it over a hard surface. Make sure that you wear the appropriate protective gear, such as goggles, when working with our products and do not operate a saw without the blade guard. A well-ventilated area is recommended.
The full sheet size is 49″x97″. Full sheets are quite floppy, so we recommend the following maximum sizes:
1/8″ thick acrylic: 12″x24″
1/4″ thick acrylic: 24″x48″
Acrylic First Surface Mirror (Random Size) – 1/8″ Thickness
$9.95Add to cart
Acrylic First Surface Mirror (Random Size) – 1/4″ Thickness
$9.95Add to cart
Plastic epoxy or VHB tape is ideal for a permanent bond.
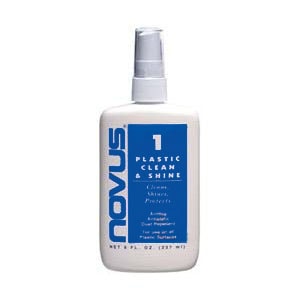
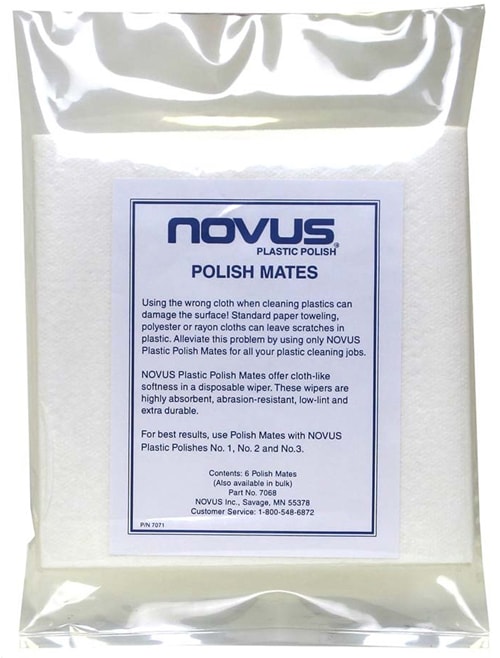
One thing to avoid is storing your mirror at an angle, as the acrylic bends over time. The uncoated side of the mirror isn’t susceptible to water damage, but the coated side is – so avoid leaving the coated side exposed to high humidity or outdoor conditions which may result in it getting wet. The coated side of the mirror has a protective transparent coating on it which protects against scratching. You want to avoid cleaning the coated side as much as possible, as scuff marks may be left behind and the cleaning solution may leave residue. You can clean the uncoated side repeatedly, as long as you are using a cleaner such as Novus 1 and Polish Mates.
1/8″ Thick – 11.3 oz per sq foot (320g)
1/4″ Thick – 22.6 oz per sq foot (640g)
Like all plastic materials, mirrored acrylic will react when exposed to certain chemicals. Below is a partial list of chemicals known to react with acrylic mirrors; exposure to them should be avoided. External factors such as fabrication stresses, exposure to loads or changing temperatures, and the method of application can influence the possible reaction as well. Care should be taken with dry chemicals or solvents used near the mirrored acrylic at all times.
KNOWN CHEMICALS THAT ATTACK MIRRORED ACRYLIC:
BENZENE ETHYL ALCOHOL
LACQUER THINNERS KETONES
ESTERS METHYL ALCOHOL
CARBON TETRACHLORIDE ETHERS
TOLUENE
For loose debris and dust, you can use compressed (canned) air like you use to clean your computer’s keyboard and ports. For smudges, fingerprints, and stains, use “Novus 1” spray and Novus Polish Mates cleaning wipes, which are specifically made to clean acrylic and simultaneously fix small scratches.
Do not use Novus 2 or Novus 3, they are too aggressive for mirror cleaning.
The easiest way to figure this out is to put your fingernail against the mirror. If there is a gap between your finger and its reflection (i.e., you can see the entire tip of your finger in the mirror), it is the uncoated side. If there is no gap between your finger and its reflection, it is the coated side.